
But very often on a grading plan you need to economize space, so you need to make your leader rather short. You don't want the arrow head (marker) to disappear like this:
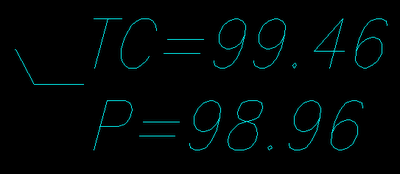
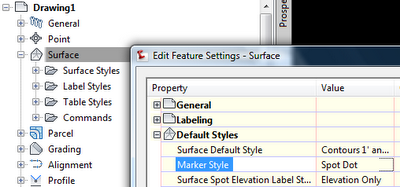
But whether we can see it or not, there is a marker at the end of the leader above. In this case, it's far too small. In your case, it may be the wrong marker. Where is that controlled? On insertion, it's controlled in the Toolspace Settings tab under Surface, Edit Feature Settings, Default Styles, Marker Style. The screen shot below shows that we are using Spot Dot as the default surface marker at Hubbard Engineering. Note, however, that this setting does not change any labels that have already been inserted. If you have the wrong marker style for those, you need to change it using Properties.
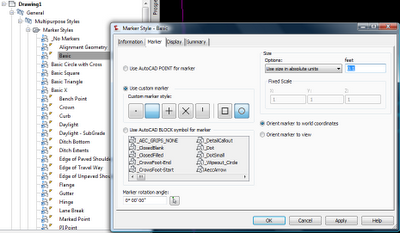
But the size of the Spot Dot is too small for our needs. So we go to Toolspace, Settings, General, Multipurpose Styles, Marker Styles, and we edit the marker style in question. In the screen shot below, the size of Basic marker style is being changed. In my case, I needed to increase the size of the Spot Dot marker style
After I increased the size of the Spot Dot marker style, I can make my Spot Elevation leader short without losing the dot. Whew!

No comments:
Post a Comment